Delicious Banana and Peanut Butter Ice Cream – Guilt-Free Treat!
Growing up, my family loved making simple, healthy desserts. One favorite was a creamy ice cream made from bananas and peanut butter. It was a hit in the summer, satisfying our sweet tooth and giving us important nutrients.
Thinking back, enjoying this ice cream brings back happy memories. It’s a comfort that I’m excited to share with you.
In this article, we’ll dive into making banana and peanut butter ice cream at home. It’s perfect for those who want a dairy-free or vegan dessert. Or if you have ripe bananas to use up, this recipe is a great choice.
With just a few healthy ingredients and some creativity, you can make a rich, nutritious treat. It’s bound to delight your taste buds.
Table of Contents
Why This Two-Ingredient Ice Cream Will Become Your Favorite
Try the amazing mix of banana peanut butter ice cream. It’s a healthy and tasty treat that will be a favorite at home. This homemade nice cream has great flavors and a smooth texture. Plus, it’s good for many dietary restrictions.
Health Benefits of Homemade Nice Cream
Banana and peanut butter ice cream is tasty and full of good stuff. Bananas give it potassium and fiber, making it sweet and creamy. Adding peanut butter boosts the protein, making it a healthy snack or dessert.
Perfect for Dietary Restrictions
This banana peanut butter ice cream is great for many diets. It’s vegan, dairy-free, and gluten-free. This means everyone can enjoy it, without losing out on taste or texture.
Budget-Friendly Dessert Option
Making this homemade nice cream is simple and won’t cost much. You only need bananas and peanut butter. It’s a cheap way to make a delicious treat, perfect for families or anyone watching their budget.
Essential Ingredients for Banana and Peanut Butter Ice Cream
Making banana and peanut butter ice cream is simple. You just need a few basic ingredients. Ripe bananas and smooth peanut butter are the main ingredients. Together, they create a creamy and satisfying treat.

To make your homemade banana and peanut butter ice cream, you’ll need:
- 3-4 large ripe bananas
- 2-3 tablespoons all-natural peanut butter
Consider adding a splash of vanilla or a pinch of salt for added depth. Some recipes might include a bit of milk or confectioners’ sugar. But the peanut butter and banana are the main attraction. For the richest flavor, use fully ripened bananas.
With just a few ingredients, you can make a delicious banana and peanut butter ice cream at home. The bananas’ natural sweetness and the peanut butter’s nutty flavor make it a tasty dessert.
Equipment Needed for Perfect Results
To make delicious banana and peanut butter ice cream, you need the right tools. A powerful food processor or blender is essential. They help make the ice cream smooth and creamy, which everyone loves.
Food Processor vs Blender Options
For big batches, a 12-cup food processor is best. It can handle more easily. For smaller amounts, a 7-cup food processor works great. A high-powered blender can also make the ice cream smooth, making it a good choice too.
Storage Containers and Tools
After making the ice cream, you’ll need containers to keep it in the freezer. This keeps the flavor fresh and prevents freezer burn. An ice cream scoop is essential for serving the right amount. Also, a baking sheet or plate is useful for freezing bananas before blending.
| Equipment | Description |
| 12-cup Food Processor | Ideal for larger batches of banana and peanut butter ice cream |
| 7-cup Food Processor | Suitable for smaller servings of the homemade treat |
| High-powered Blender | Can also achieve the desired smooth, creamy texture |
| Airtight Containers | Essential for storing the ice cream in the freezer |
| Ice Cream Scoop | Necessary for serving up perfect scoops |
| Baking Sheet or Plate | Useful for freezing the sliced bananas before blending |
How to Choose and Prepare Bananas for Ice Cream
Creating the perfect banana and peanut butter ice cream starts with the right bananas. Preparing bananas for ice cream is key to the final taste and texture. It makes all the difference in your homemade treat.
Look for very ripe bananas with brown spots. These bananas are sweeter. They make the ice cream creamy and indulgent, without needing extra sugar.
- Peel the ripe bananas and slice them into 1/2-inch thick discs.
- Arrange the banana slices in a single layer on a plate or baking sheet.
- Place the prepared banana slices in the freezer for 1-2 hours, or until they are completely frozen and solid.
Freezing the banana slices before blending is crucial. It makes the bananas blend into a smooth, ice cream-like texture. This avoids any unwanted chunks or icy bits.
The more mature the bananas, the sweeter and creamier your treat will turn out. With a little preparation, you’ll make a delicious banana and peanut butter ice cream. Your whole family will love it.
Step-by-Step Preparation Method
Making the perfect banana peanut butter ice cream is easy. Just follow a few simple steps. We’ll show you how to turn frozen bananas and creamy peanut butter into a tasty, healthy treat.
Freezing Process
Start by cutting ripe bananas into small pieces. Arrange them on a baking sheet or plate. Put the banana slices in the freezer for 1-2 hours until they’re frozen solid. This step is key for the right icy texture when blending.
Blending Techniques
Once the bananas are frozen, transfer them to a food processor or blender. Blend them until they’re smooth and creamy. Scrape down the sides as needed. This might take 2-3 minutes to get a smooth texture.
Adding Peanut Butter
After blending the bananas, add 2-3 tablespoons of peanut butter. Both smooth and crunchy peanut butter work well. Blend until the peanut butter is fully mixed in, giving the ice cream a rich taste.
If the mix is too thick, add 1-2 tablespoons of milk or plant-based milk. This helps make it smoother. Blend for another 2-3 minutes to get the perfect creamy banana peanut butter ice cream.
Congratulations! You’ve learned how to make delicious banana peanut butter ice cream at home. Enjoy this healthy treat as a guilt-free dessert or a refreshing snack any time.
Texture and Consistency Tips
Getting the right texture and consistency for banana ice cream is crucial. With a few easy tips, you can make the creamiest banana and peanut butter nice cream. It’s a delightful frozen treat.
Right after blending, your nice cream will be soft-serve-like. It’s perfect for enjoying right away. But, if you want it firmer, like ice cream, just put it in a freezer-safe container. Chill it in the freezer for 1-2 hours before serving.
Blending needs patience for a smooth, creamy texture. For a thinner consistency, add a splash of milk or water. Do this a tablespoon at a time. The creamy peanut butter also helps make the banana ice cream texture and creamy consistency better.
| Texture and Consistency | Tips |
| Soft-Serve Consistency | Enjoy the nice cream immediately after blending. |
| Firmer Texture | Freeze the nice cream for 1-2 hours after processing. |
| Smooth Blending | Add small amounts of milk or water to aid the process. |
| Creamy Texture | The peanut butter contributes to a smoother consistency. |
By following these tips, you’ll get the perfect banana ice cream texture and creamy consistency every time. Your homemade nice cream will be a delicious and satisfying treat.

Storage Guidelines and Best Practices
Proper storage is key to enjoying your homemade banana peanut butter ice cream. To keep it fresh and creamy, follow these simple tips.
Freezer Storage Duration
Your banana and peanut butter ice cream can stay in the freezer for up to 2 weeks. This keeps the flavor fresh and prevents freezer burn. Press plastic wrap on the ice cream’s surface before sealing to reduce air exposure.
Thawing Instructions
When you’re ready to enjoy, let the ice cream sit at room temperature for 15-20 minutes. This makes scooping easier and keeps it creamy. For quicker thawing, freeze it in small portions or ice cube trays.
| Storage Duration | Thawing Instructions |
| Up to 2 weeks in the freezer | Let sit at room temperature for 15-20 minutes before scoopingFreeze in small portions or ice cube trays for quicker thawing |
By following these tips, your homemade storing banana ice cream stays fresh and creamy. Proper thawing frozen nice cream ensures the perfect texture every time.
Nutritional Information and Benefits
This homemade banana peanut butter ice cream, or “nice cream,” is a healthier choice than regular ice cream. It’s made with just 3 simple ingredients: bananas, peanut butter, and optional cacao nibs. Enjoy this frozen dessert without the guilt.
Each serving of this banana peanut butter ice cream has about 202 calories. It has 30g of carbs, 5g of protein, and 10g of fat. Bananas are a natural source of potassium. Peanut butter adds healthy fats and protein. Adding cacao nibs boosts the antioxidants, making it a nutritious dessert.
Compared to store-bought ice creams, this homemade version has less sugar. It’s also more nutrient-dense. It’s a great choice for those who want to enjoy something sweet without harming their health.
| Nutrient | Amount per Serving |
| Calories | 202 kcal |
| Carbohydrates | 30g |
| Protein | 5g |
| Fat | 10g |
| Fiber | 4g |
| Potassium | 451mg |
This tasty banana peanut butter ice cream is not just delicious. It also offers many health benefits. Enjoy it as a guilt-free dessert or a post-workout snack to boost your well-being.
Variations and Add-ins
Make your homemade banana and peanut butter ice cream even better with simple tweaks. Want a chocolatey twist or a nut-free version? These ideas will let you tailor your treat just right.
Chocolate Additions
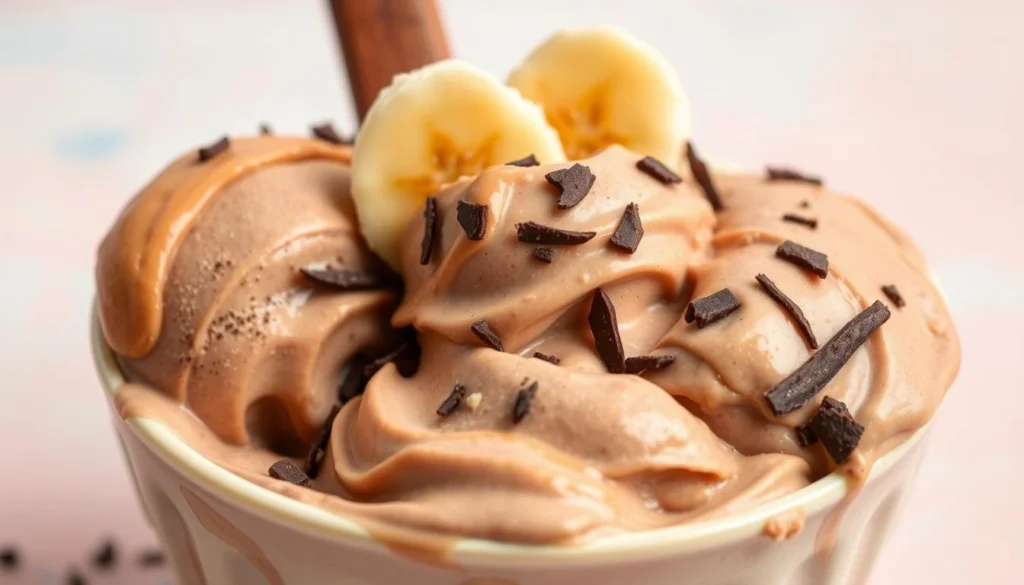
For a chocolatey kick, mix in 1-2 tablespoons of unsweetened cocoa powder while blending. Or, add a handful of dark chocolate chips or chopped chocolate before freezing.
Nut-Free Options
Need a nut-free ice cream? Use sunflower seed butter or another seed spread instead of peanut butter. It’s delicious and can be made nut-free.
Try adding vanilla extract, cinnamon, honey, or maple syrup for extra flavor. Feel free to add chopped almonds or cashews for texture. The choices are endless!
| Ingredient | Amount |
| Banana | 6 medium |
| Peanut Butter | 1 1/2 cups (380 grams) |
| Brown Sugar or Coconut Sugar | 6 tablespoons |
| Salt | 1/2 teaspoon |
| Dairy-Free Chocolate Chips | 2 cups (350 grams) |
| Coconut Oil | 4 tablespoons |

Homemade banana and peanut butter ice cream is all about personalizing it. Enjoy trying out different add-ins and flavors. Create your own unique banana cocoa peanut butter ice cream or nut-free nice cream recipe.
Troubleshooting Common Issues
Making the perfect banana ice cream at home can be tricky. But don’t worry, we’ve got you covered! We’ll help you solve problems with texture, consistency, and freezer storage. Follow these tips to make the blending frozen bananas you’ve always wanted.
If your banana ice cream is too thick, add a little milk or water. Start with a tablespoon at a time. Keep blending until it’s just right. For a grainy texture, blend more and scrape down the sides. This ensures everything mixes well.
If your banana ice cream is too soft after freezing, freeze it again for a bit. Keep it in a sealed container to prevent freezer burn. If it’s too hard, thaw it for a few minutes. Then, blend or scoop it again.
Creating perfect banana ice cream is all about the details. With a bit of practice, you’ll make creamy, smooth banana ice cream. This will soon be a family favorite.
Serving Suggestions and Presentation Ideas
Make your homemade banana peanut butter ice cream even more special. Add different toppings and garnishes to make it look and taste amazing. This will turn your dessert into a treat that’s both beautiful and delicious.
Toppings and Garnishes
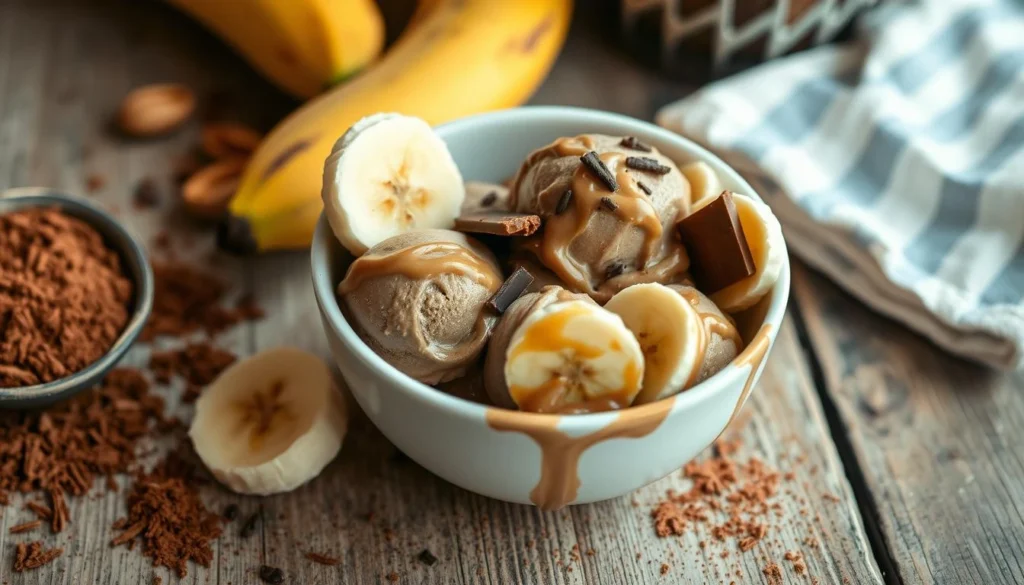
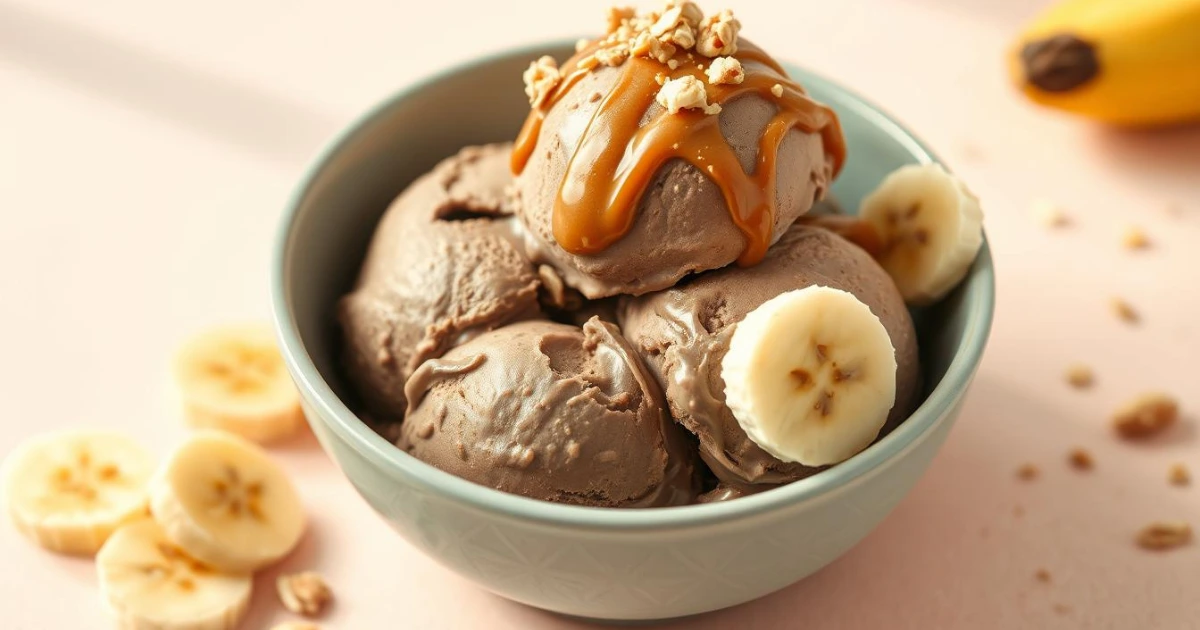
Top your ice cream with chopped peanuts for a crunchy feel. Drizzle peanut butter or chocolate sauce for a rich taste. Arrange fresh banana slices on top for color and flavor.
For a chocolate boost, sprinkle dark chocolate chips or shavings. These touches will make your ice cream sundae unforgettable.
Special Occasion Serving Tips
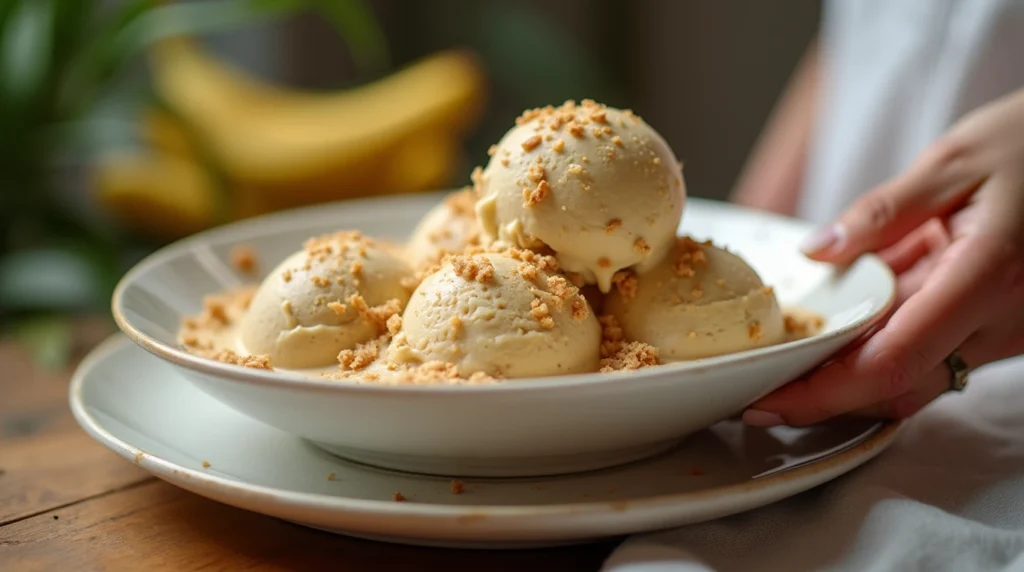
Turn your banana peanut butter ice cream into a fancy dessert for special days. Scoop it into bowls or glasses and add your favorite toppings. Crumble graham crackers or cookie crumbs for a fun texture.
Finish with a sprig of fresh mint for a refreshing look. These ideas will make your ice cream the highlight of any event.
Whether it’s a cozy night in or a big celebration, these tips will make your banana peanut butter ice cream shine. Experiment with toppings to find your preferred combination.
Kid-Friendly Adaptation Tips
Make your banana and peanut butter ice cream more fun for kids. Let them help peel and slice the bananas. Use fun molds or popsicle sticks to make treats that look great and taste even better.
Add fun toppings like fresh berries or crushed cookies. For a twist, try mini chocolate chips or cookie crumbs. Serve the kid-friendly banana ice cream in small portions for a perfect snack.
Involve your kids in making this peanut butter nice cream for children. It’s a fun way to make a yummy dessert and teach them about healthy treats. Get everyone involved and make memories with this tasty, homemade ice cream.
FAQ
What is the main ingredient in this two-ingredient ice cream?
The main ingredients are ripe bananas and all-natural peanut butter.
What are the health benefits of this banana and peanut butter ice cream?
This “nice cream” offers a healthier alternative to traditional ice cream. It’s dairy-free and vegan-friendly. It’s also full of potassium and fiber from bananas and protein from peanut butter.
Is this ice cream suitable for various dietary needs?
Yes, it’s great for those who are dairy-free, vegan, or gluten-free. It’s a versatile dessert for everyone.
How cost-effective is this homemade ice cream?
It’s very affordable. You only need a few simple ingredients that you might already have at home.
What equipment is needed to make this ice cream?
You’ll need a strong food processor or blender for a smooth texture. A 12-cup food processor is best for big batches. A 7-cup one works for smaller amounts. You’ll also need airtight containers and an ice cream scoop.
How do I prepare the bananas for the ice cream?
Choose very ripe bananas with brown spots for sweetness. Peel and slice them into 1/2-inch discs. Freeze them in a single layer on a plate or baking sheet for 1-2 hours before processing.
How do I make the ice cream?
Freeze the banana slices first. Then, process them until smooth, scraping the sides as needed. Add peanut butter and blend until creamy, which takes about 2-3 minutes.
How can I achieve the perfect texture for this ice cream?
For a soft-serve, serve right after blending. For a firmer texture, freeze for 1-2 hours more. Be patient to get a smooth, creamy result.
How long will this homemade ice cream last?
Keep it in a tightly sealed container in the freezer for up to two weeks. Allow it to soften at room temperature for 15-20 minutes before serving.
What health benefits does this ice cream offer?
It’s packed with potassium from bananas and healthy fats and protein from peanut butter. It’s also lower in sugar than traditional ice cream.
Can I make variations of this ice cream?
Absolutely! Try adding cocoa powder or chocolate chips for a banana cocoa peanut butter ice cream. You can also use sunflower seed butter or other seed butters for a nut-free version.
What are some common issues I may encounter, and how can I troubleshoot them?
Add a splash of milk or water if the consistency is too thick. For a grainy texture, keep processing and scraping the sides. If it’s too soft, freeze it longer. Use an airtight container to keep it fresh and prevent freezer burn.
How can I serve and present this banana peanut butter ice cream?
Serve it in bowls, cones, or as banana splits. Get creative with toppings like chopped peanuts, chocolate chips, sliced bananas, or a drizzle of melted peanut butter or chocolate sauce. For special occasions, make sundaes with multiple toppings and garnishes.
Can kids help make this ice cream?
Absolutely! Kids can help peel and slice bananas. Use fun-shaped molds or popsicle sticks for frozen treats. Add colorful, healthy toppings like berries or sprinkles to make it fun for kids.

